Login
Log in if you have an account
Register
By creating an account with our store, you will be able to move through the checkout process faster, store multiple addresses, view and track your orders in your account, and more.
Create an accountRoberto's Coyote
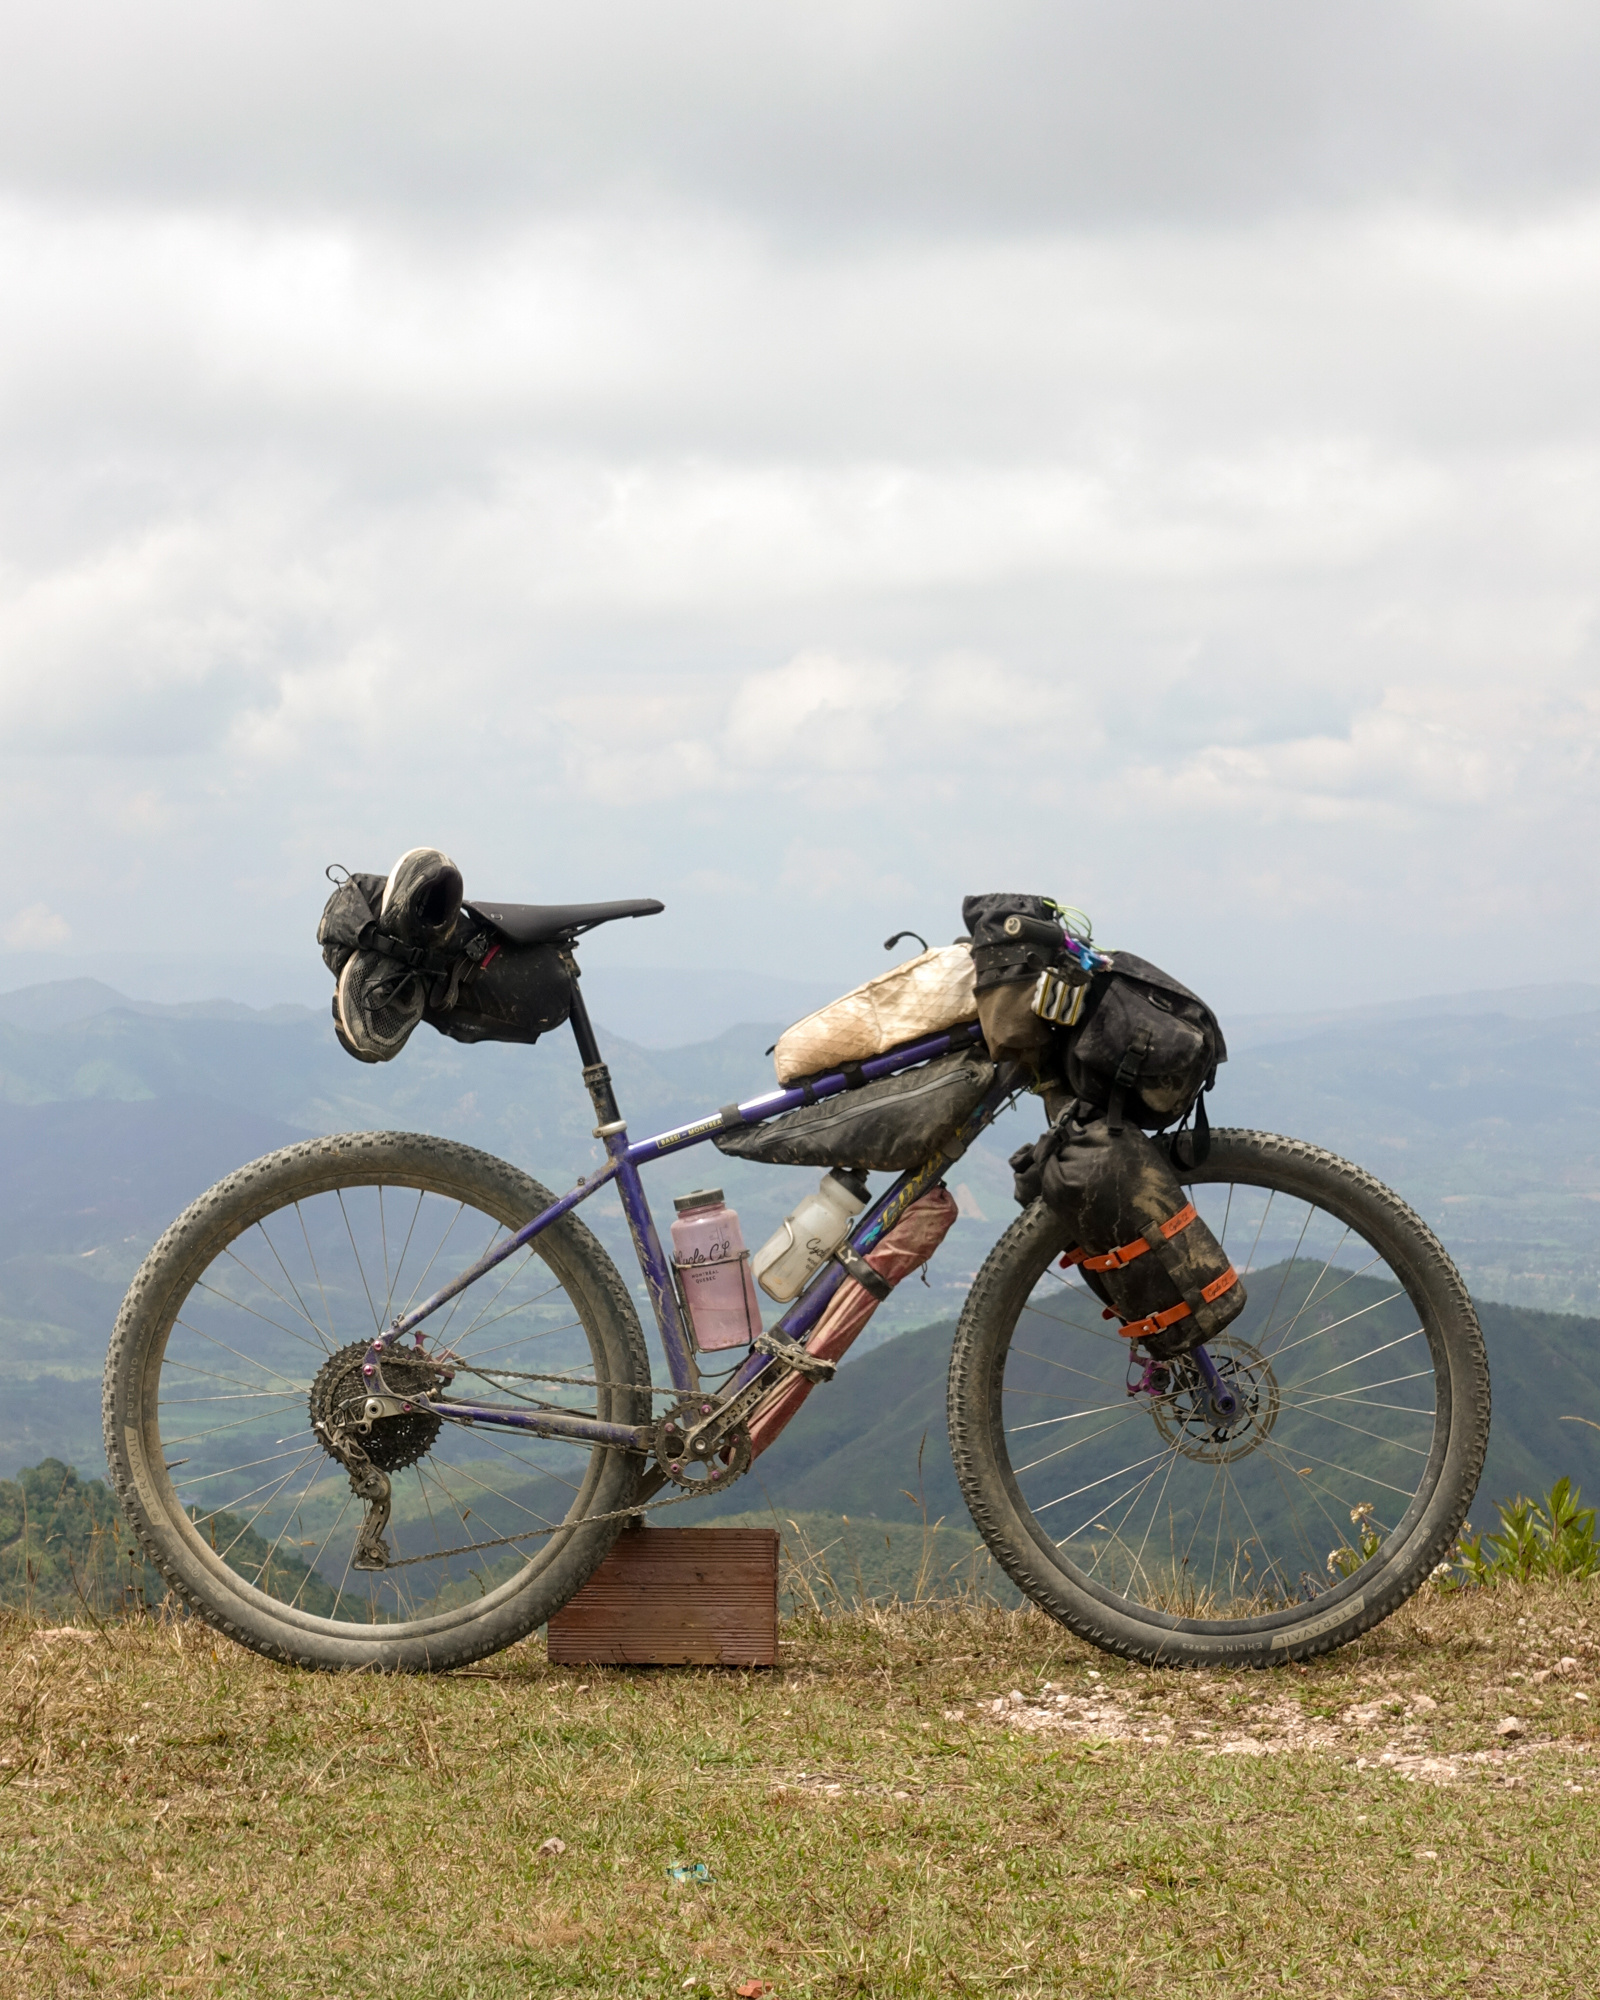
I originally built my Coyote for last year’s Philly Bike Expo and have ridden it extensively since!

Photo by Troy
The combination of single speed, cable-actuation, and a square taper bottom bracket with boost spacing, tubeless tires and a dropper post felt like a good representation of me as a cyclist: keep it simple where possible, embrace newer tech where I feel like there’s a real value-add.

This bike has been a ton of fun rambling through trails fast and slow. I love the XC feel of narrow (by modern standards) 2.2-2.35” tires with a slightly longer stem. Set up single speed, the short rear end and rigid frame make the Coyote feel extremely playful and agile. It’s the most light-footed I’ve ever felt on a bike. The super precise steering, and the increased rollover of 29” wheels mean I can pick the correct lines with little effort and float over things instead of smashing through them. The frame’s stiff front end means the Coyote effortlessly sticks to the line I point it down.

The trip
I’d been itching for a proper bike tour for quite some time. A Winter bikepacking escapade in South America, to be exact. Julian, Vince, Rob, Peter, Dan, Juan and I set our sights on riding the Oh Boyaca! route found on bikepacking.com during the first three weeks of February.

We decided to ride South to North, opposite to the direction it’s mapped in the link above. The route took us through stunning high-altitude scenery, in biomes specific to that part of the world called páramos and characterised by a kind of shrub called frailejón.

With our days averaging about 1200m of climbing (with a couple >2000m days), we got to see the scenery, foliage and temperature range from hot and tropical to cold and tundra-like in a matter of hours. Temperatures would vary by at least 20ºC from the start of the climb to the summit. Most of the mountains we crested were enveloped by rain clouds. Despite limiting our surrounding views the cloudy atmosphere (and the hail that accompanied one of the summits) only added to the mystique of the terrain.


A couple of days were spent riding through scorching hot desert-like landscapes, which reminded me a lot of the Northern portion of the Baja Divide I toured five years ago that inspired the Coyote’s design.


Colombia loves cyclists!
It’s no secret that Colombia takes pride in its cycling heritage. We were always made to feel welcome on the roads and in the tienditas. So many people we spoke to were clearly proud of their land and insisted that we tell everyone we know to go to Colombia for a bike trip. So, take this as your sign!

The route took us through mostly quiet and remote areas where car traffic was virtually non-existent. But even the odd stretches of pavement felt safe to share with the generally courteous drivers and truckers.

Finding a place to camp was always shockingly easy. All we needed to do was ask. Even in restaurants, people would stop mid meal to make phone calls to help us lock in a place for us to stay.


Food!
On top of delicious fresh fruits, bocadillos and empanadas, the culinary highlight of the trip is easily the classic Colombian breakfast we enjoyed every morning: Beef rib soup accompanied by a serving of eggs, an arepa (made of wheat or corn flour depending on the region), cheese, hot chocolate, and coffee. The super salty, fatty, and electrolyte-filled broth gave us what felt like superpowers!

You’ll notice that a stove and fuel are missing from my pack list below. Food was always very easy to find and guaranteed to be way better than any camp meal.
The ride
To get my Coyote ready for this trip, I simply swapped the single speed cog for a MicroSHIFT 11-speed XCD group, topped up the sealant in both tires and called it a day.

The bike performed marvellously. I was extremely comfortable day after day, in large part thanks to the 29” wheels’ increased rollover and, of course, the Bobby Bar handlebars. I love the long grip area that allows me to move my hands around throughout the day. The 30º angle feels very natural when on or off the saddle both while climbing and descending, and the bends provide a comfortable and efficient-feeling perch for spirited efforts on paved roads. (BTW, check out the Nitto-made ø25.4mm version of the Bobby Bar!).
The Coyote's stable and predictable handling almost made it feel no different to how it rides unloaded. Those attributes were particularly welcome on some of the longer, gnarlier descents that would've been way more exhausting if I had to also wrangle a rowdy, unbalanced bike.

I even rekindled my love for replaceable derailleur hangers (what?). Yes. I unfortunately took a spill. It happens. On one particularly long descent (about 50 minutes to an hour) in the rain and dwindling sunlight, my mind wandered for a second and I totally cooked a corner. I was fine, save for some minor cuts and bruises, but my derailleur hanger got pretty badly bent. Thankfully, I was still able to finish the descent into town. The following day, instead of messing around with a pair of pliers to try to make it straight, I simply swapped it with the spare one I was carrying and voilà! I didn’t even need to adjust the shifting in the slightest and everything was like new again. Replaceable derailleur hangers for the win??
Packing style
Every style of pack has its trade-offs and choosing the right one is as much about the terrain you’ll be riding in as your personal preferences. While bikepacking bags are generally lighter and more secure than panniers, their limited capacity can be a challenge and having to play tetris with your gear when packing up every morning can get old, quick. Panniers benefit from bigger volumes which require less care when packing, but their hardware can break, they flop around on rough terrain and can sometimes fly off.

Below is my pack list but in summary, for this trip, I enjoyed having camp related things (i.e. things I didn’t need access to during the day or even during hotel stays) in the compressed seat pack and fork bags. Almost everything else was jammed into my Atelier Atwater Grafter XL handlebar bag. The expandability of the Grafter made it possible for me to use it almost like a pannier by being a little faster and more careless about packing strategy. Small accessories and snacks were shared between my frame wedge, top tube bag, stem pouches and hip pack.

Pack list
Here's all the stuff I brought for our 12 day trip and how I carried it.
Atelier Atwater Grafter XL handlebar bag

I originally bought this bag for our trip to Asia, and it’s the bike bag I use the most now. The XL size and its expandability offered a huge volume, and plenty of room to stash my waistpack when I got tired of having it on me. The D-rings made it possible to attach a shoulder strap and use the bag as an only slightly weird looking carry-on.
- Clothing
- Rain jacket
- Pants
- Socks
- Underwear
- Alternative Research (co-owned and operated by former C&L staff Emiliano!) Merino wool t-shirt, sewn and naturally dyed in Montréal
- Long sleeve base layer
- Toiletry kit
- First-Aid kit
The rest was stashed in the side pockets:
- Beanie
- Thin gloves
- Merino wool neck gaiter
- Mini folding lock
- Headlamp
- Utensils
Fork Bags

I made these for our trip on the Transgaspésie route out of Cordura and truck tarp for maximum abrasion resistance and waterproofness. For that trip, I needed a bag for all my food that was easy to take off the bike and hang from a tree to keep away from hungry critters. They’re great for riding over rough terrain when fully compressed and cinched tight with Voile straps as they don’t move or sway in the slightest.
One contained:
- Sleeping bag
- Insulated jacket
The other:
- Sleeping pad
- Camp towel
- Base layer bottoms
- Inflatable pillow
- Sleep mask
- Lightweight fleece sweater
Custom Gurp 12” top tube bag

Friend Gurp made me this custom footlong top tube bag that has served me very well. It’s cleverly designed, and the quality is top-notch. It looks entirely like new but for the mud stains. Despite having had it for about 3 years, I’m still surprised by just how much I can fit in there! Go here for more Gurp!
- Sony RX100-V camera
- 20,000mAh Battery bank. A smaller 10-15,000mAh would’ve been enough.
- Cellphone
- Earbuds
- AirTag
Resistant Bags frame wedge
We met Shinichi who runs Resistant bags during our trip to Japan and he very kindly gifted Julian and I each a frame wedge! The tapered shape gives it plenty of volume without getting in the way of my thighs and is beautifully made of X-Pac material. It has replaced my waistpack on all my local rides.
- Tool kit:
- Multitool
- Tire lever
- Pump
- Chain oil
- Sealant
- Tire plugs
- Quick-links
- Gorilla tape
- Needle and thread
- Lots of zip-ties
- TPU inner tube
- An assortment of spare Voile and nylon straps
- Tent stakes
Atelier Atwater stem pouches

I got these for the Baja Divide 5 years ago and they’re incredibly convenient for storing snacks and water. As someone who sometimes lacks fueling discipline, having food and drink in sight and within reach helps me a lot.
- Snacks (mostly bocadillos)
- Water bottle
- Leatherman. Maybe the best gift I’ve ever received. I use it every single day at work and on tour. To each their own but I’m a devout Free P4 guy.
Swift Olliepack seatpack

This was my first time using this kind of seatpack and I really liked it. The attachment and compression system kept swaying to a minimum and provided a way of strapping either my sandals or my shoes on either side. Being on the small side for a seatpack, it fit my 2-person tent with no room to spare.
- Tent body and fly
- Spare derailleur hanger in the underside mesh pocket
- Sandals or shoes strapped to the sides
Waistpack:
- Passport
- Wallet and cash
- Sunglasses case
- Sun screen, hand cream, lip balm
Not bagged

- Tent poles strapped under the downtube thanks to Problem Solvers Bow Ties and those incredibly handy Velcro straps that come with Surly tires.
- Therm-a-rest Z seat, which doubled as a bumper between my headtube and handlebar bag, and as padding in my bike box. I never actually used it as a seat… at least it was helpful for other uses and weighs next to nothing!
Build list
Here’s a breakdown of the build:
- Frame & Fork: Bassi Coyote M (19.5”), Stargazing Blue
- Dropout bolts: Stridsland M8
- Headset: White Industries EC44 / ZS44
- Stem: Sim Works by Nitto Rhonda 80mm
- Spacers: Sim Works by Nitto
- Handlebars: Bassi Bobby Bars
- Grips: Ergon GFR1
- Seatpost: Raceface Aeffect dropper post
- Dropper post remote: Paul Components Dropper Lever
- Saddle: Brooks Cambium C17 Carved
- Seatpost clamp: DKG
- Pedals: MKS Pretzel
- Shifter & rear derailleur: MicroSHIFT XCD
- Cassette: Microshift 11-speed, 11-46t
- Chain: KMC X11
- Crank: RaceFace Turbine, 175mm arms (gasp!)
- Chainring: Stridsland 94BCD, 32t
- Chainring bolts: Stridsland
- Bottom bracket: Shimano BB-UN300, 73mm
- Brakes: Paul Klampers
- Brake levers: Paul Love Lever
- Rotors: Jagwire LR2
- Hubs: Hope Pro4
- Rims: Stan’s Flow MK4
- Spokes: Sapim Race butted
- Front tire: Teravail Ehline 29x2.35”
- Rear tire: Teravail Rutland 29x2.2”
- Valve stems: Discord tubeless valves
- Cages: Widefoot Cargo Cages, King Cage titanium bottle cage, Velo Orange Mojave cage

Photo by Peter
That's it! Go ride bikes with your pals somewhere pretty and where the food's real good!
Shoot us an email or swing by the shop if you’re keen on the Coyote!
Beautiful bike!
Leave a comment
Recent articles
View all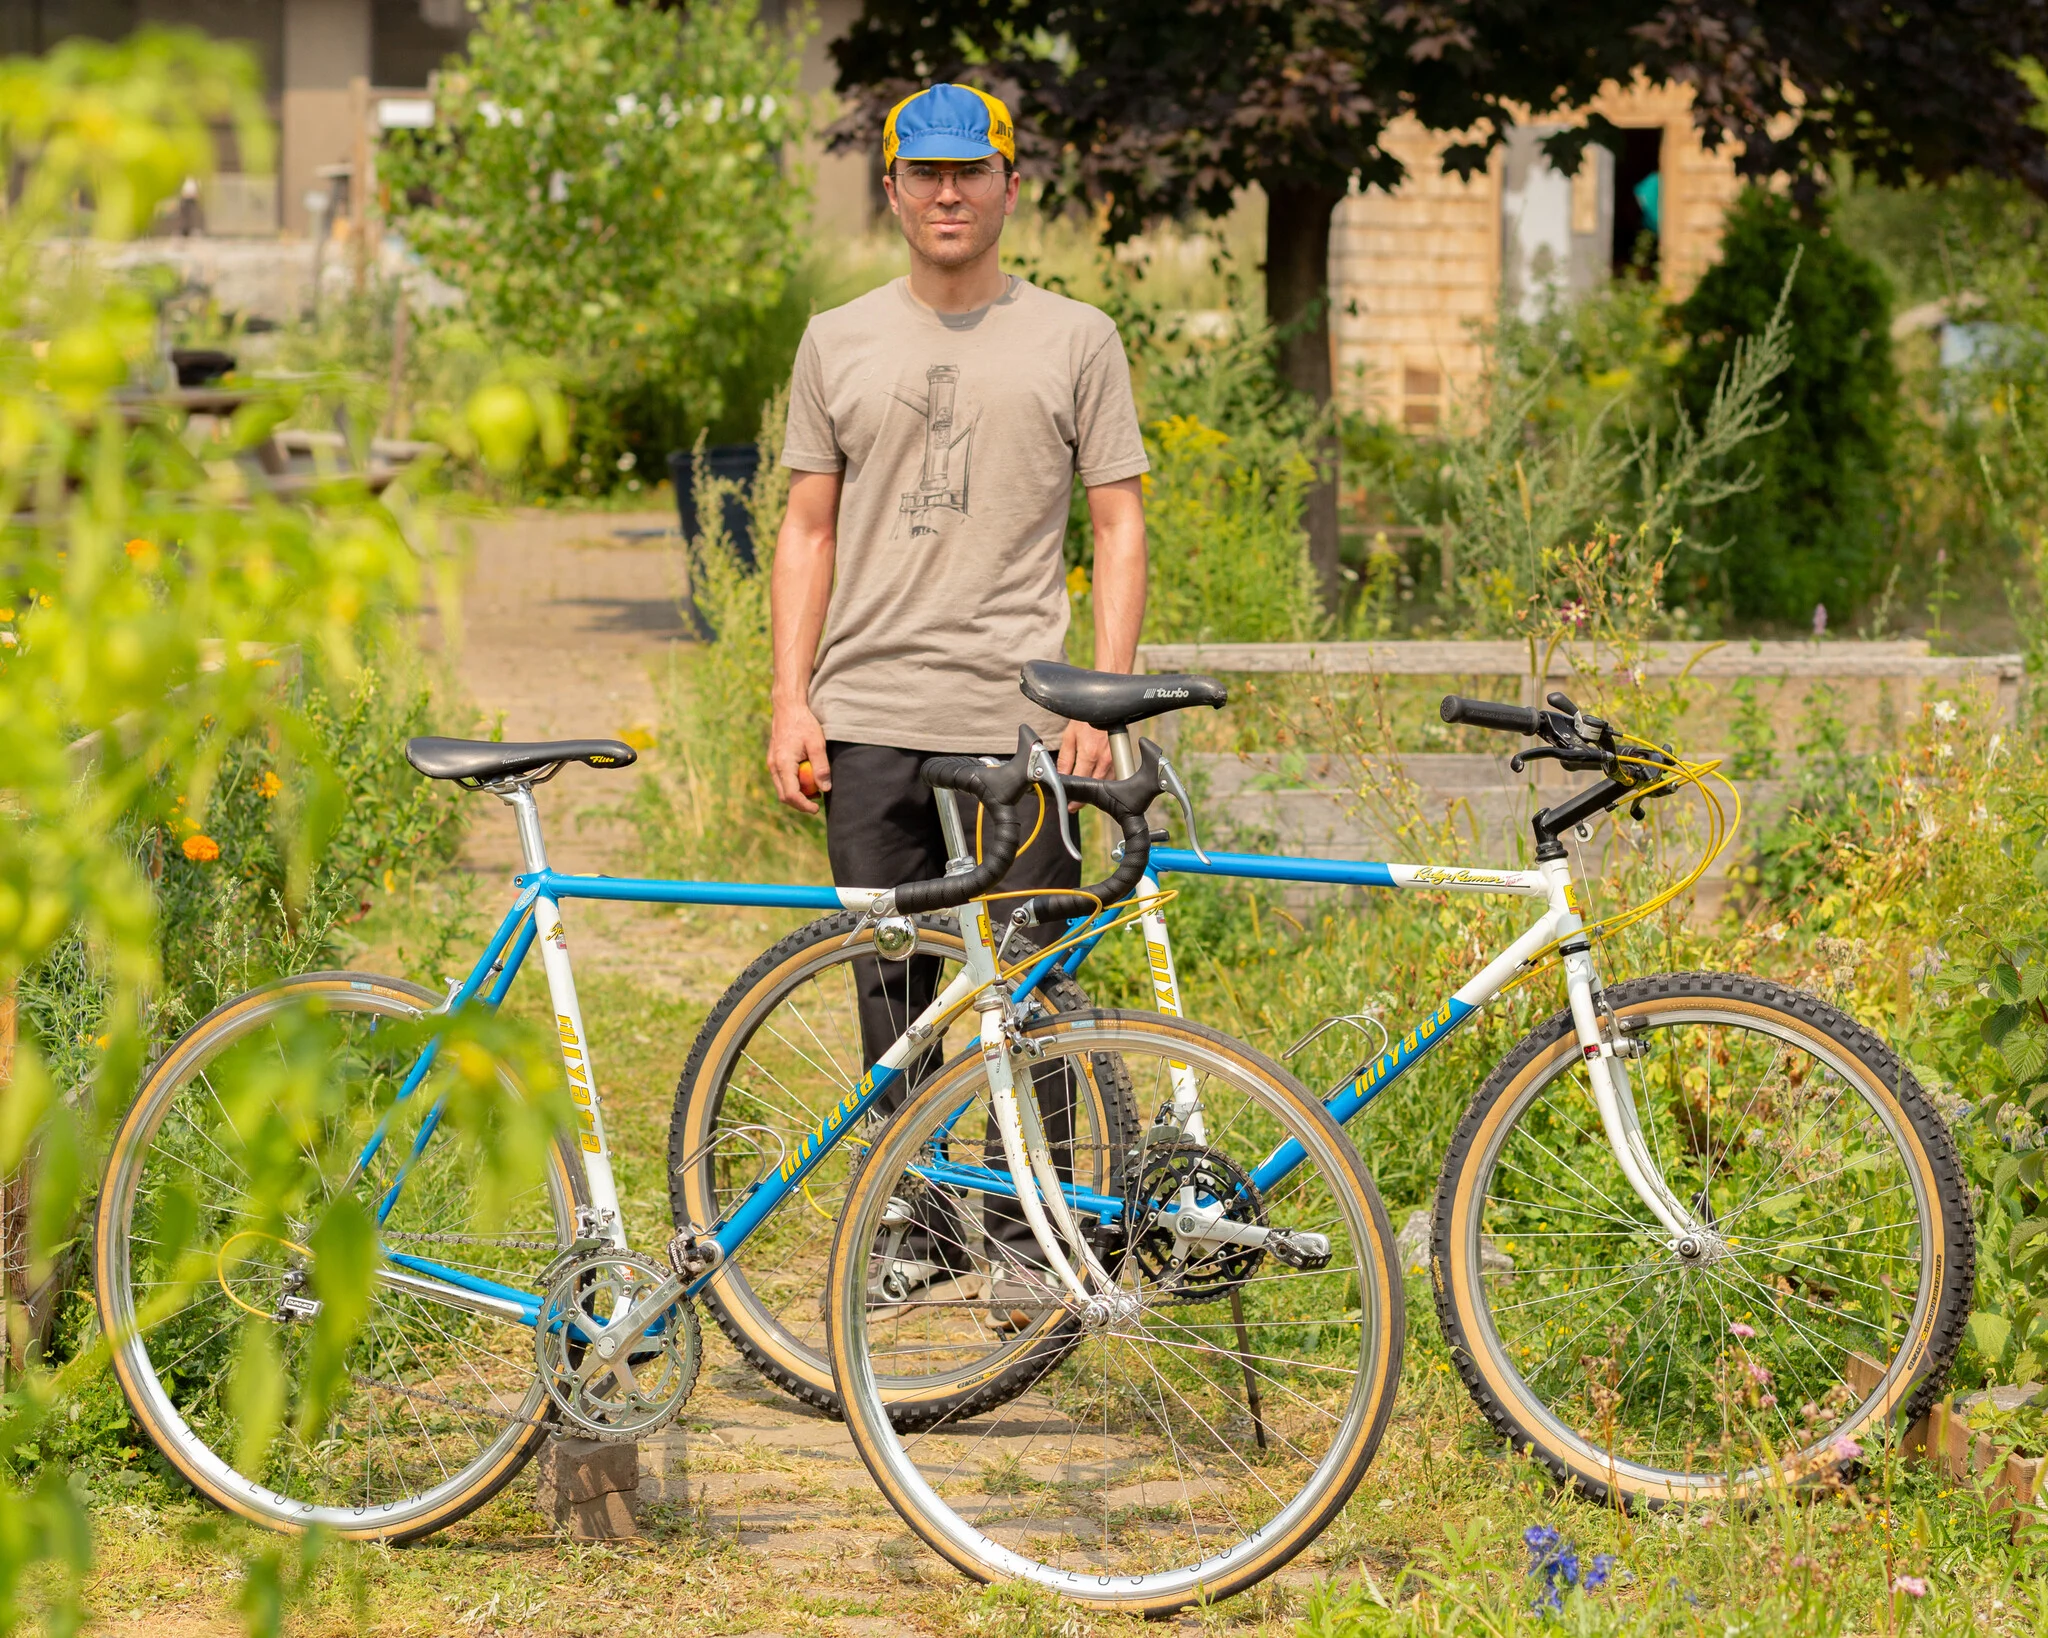
Best of C&L 2025
Best of Bassi 2025
Comments