Login
Log in if you have an account
Register
By creating an account with our store, you will be able to move through the checkout process faster, store multiple addresses, view and track your orders in your account, and more.
Create an accountConverting a drop-bar bike to a Raleigh city bike the long way around
Or: what's with Rossinante, bud?

As always, open images in a new tab to embiggen
This lovely, completely unremarkable old bike is a microcosm of almost everything C&L does. It started as an inadequate 80’s road bike and wound up basically being a classic Raleigh city bike, a common story for beloved old bikes that are entrusted to us! In between, it’s lived as a fixie, a winter bike, started my touring journey, was hit by cars and had a bunch of its joints re-welded, was re-painted twice and rebuilt so many more times.
Some of you can relate to your old bike and its many lives, and others might get inspired for what’s possible by never wasting a frame or component. Come on Rossinante’s journey with me!

The same model from Norco's catalogue a few years later, they changed no components between 1984 and 1988. No, I have no idea what tri-moly could mean either. I've seen the gigantic frames for tall people though, they're amazing.
This was initially a bike I got as a trade-in for my teenage mountain bike, a clapped-out machine that nonetheless gave me lots of joy on country roads. In exchange I think I paid 130$ (call it 200$ in today's money) for this Norco Monterey from 1984, in original brown paint and with 27-inch wheels, friction shifting, and awful brakes. The awful brakes will remain a theme for a while.

Mid-20s Simon on the original-brown bike, with original-bad brake.
Rossinante was a good bike for me! It fit me great, looked good, was basically adequate for transportation. When, after riding it for a couple of years in Montreal, it started wearing out, I didn’t really know how to repair it and I’d had bad experiences with local bike shops (not C&L). A friend had this cool new thing called a fixed-gear bicycle, so I decided that sounded like a fun project to try and figure out how to do with my bike. I ordered fixie wheels online from a defunct British discount bicycle retailer, which is how I made my acquaintance with C&L Cycles: our fearless leader JD saw the wheel boxes in the recycling out front of my work and came in to find out which fool had bought wheels from anyone but him. He wasn’t wrong, but we were all young and ignorant once.
In its fixie form, I really made this bike give me everything it had! I explored all over the city, went on some inadvisably long day rides, and even started riding in the winter: a friend had the same bike I did, and I saw her ride off into a snowstorm on it. This is when the last of the original parts finally came to an end: old cheap single-pivot brakes do not age elegantly in a salty winter.

The cat and the couch are still with me. The Pedalbelts were on another bike that got stolen unfortunately. Sorry Collin! You made good belts!
A friend and artist, Laura, who’s an impressive cyclist as well, started repainting her bikes with the good paint smuggled across the border from down south, and I asked her to do mine. Her blue-and-white paint job was fantastic, and lasted for years.
This continued to be my winter bike and city beater after I started working at C&L and got a better touring bike, a Bassi Montréal. The homemade paint customization continued though! I stripped the paint, waxed the steel to protect it, and rode the bike raw for a while. This wouldn’t do for winter, so I brought it to the firm that C&L would wind up working with for powder coating, and Rossinante became the first frame that C&L had custom-powdercoated.


Back to a simple 1x7 gearing setup, with Marathon tires and plastic fenders, the bike settled into a quiet life as a city bike, light enough to easily carry up the stairs due to its origin as a road bike, but with a much more comfortable upright position with its new flat handlebars, Ergon grips, and a front basket for errands. It’s kind of the natural end point for an old, unremarkable road bike in Montréal. In this form, I traded it to a close friend, who used it just as I had, as an easy to move and lock up city bike, ready for any errand.
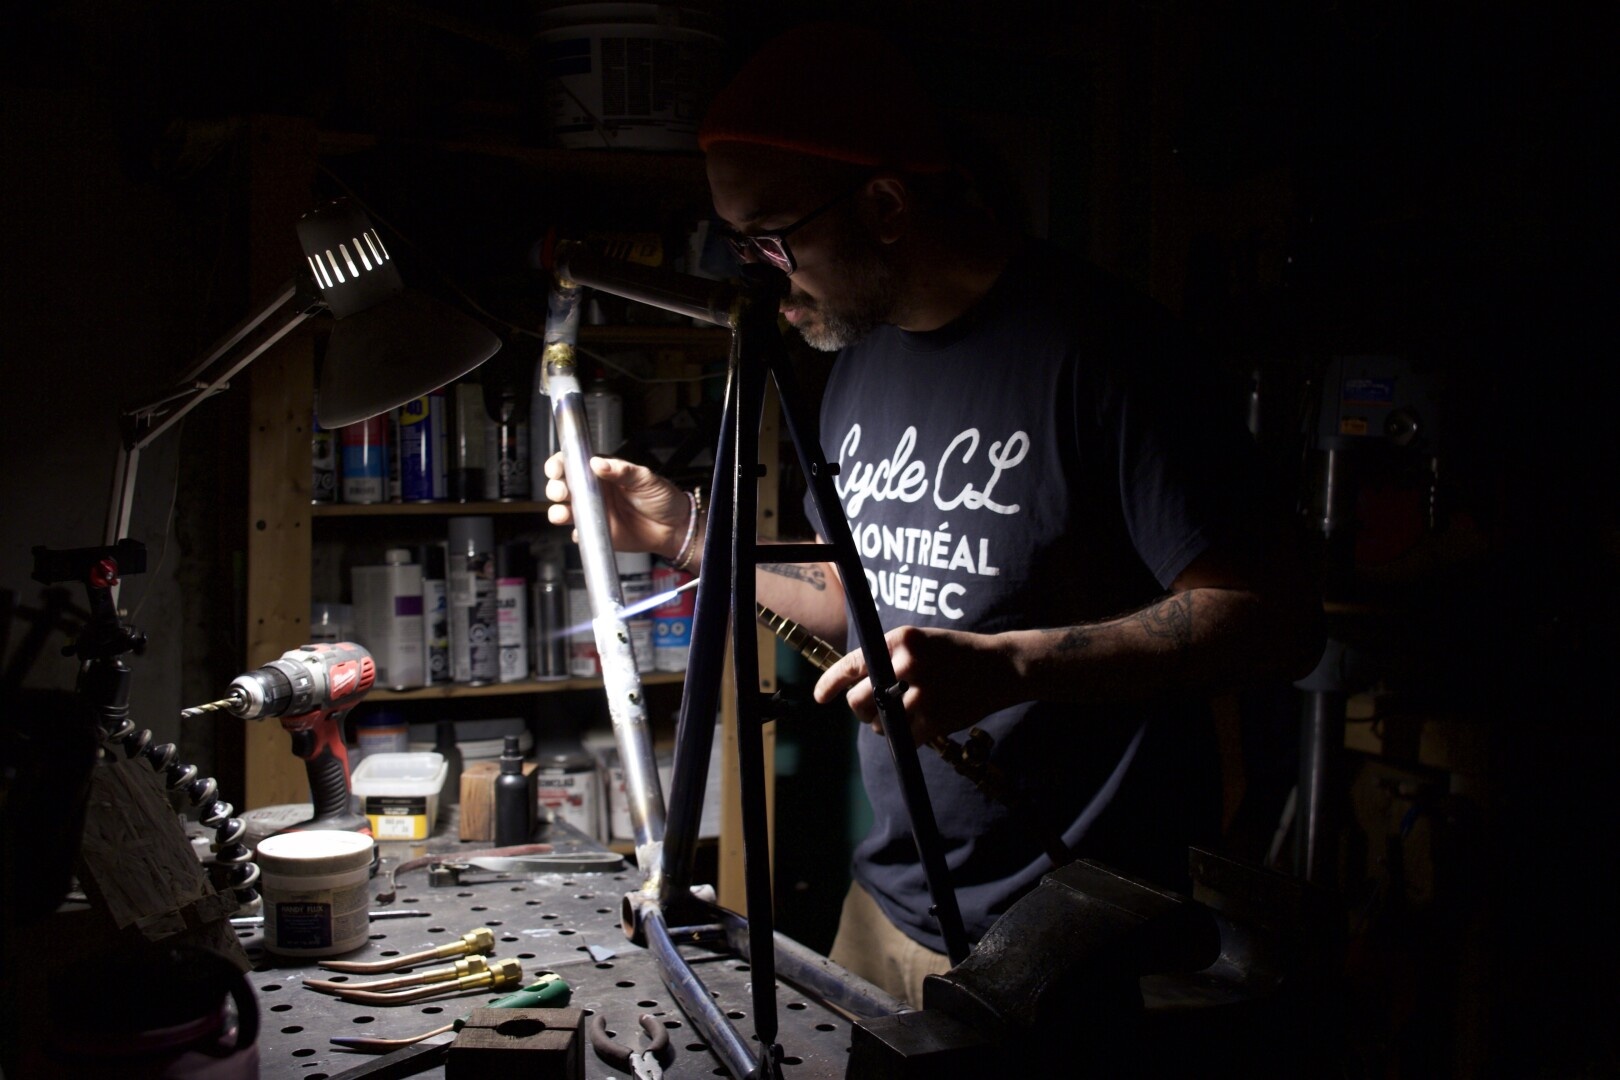
A couple of winters ago, I had to bring it to JD for steel repairs, which is another tradition for old bikes around here! The seatstays, banged up as they had been by cars, life, and spreading for various hub widths, had both completely detached from the seat tube (so that’s what that creaking sound was…)! He melted some bronze and reattached them, no problem, and at the same time extracted a seized bottom bracket cup. The yellow paint on the frame is where I covered the rust and torch damage.

All welded back together and with a 3-speed Shimano Nexus hub that had been through the winters a bit more than it should have...
This last year, my friend needed room in his apartment for other projects and this wasn’t his only bike, so he asked me to take care of Rossinante again. I started preparing for another winter together!
I’m one of C&L’s internally-geared obsessives, so I had been on the lookout for a vintage Sturmey Archer AW hub for about a year, and since they made millions of them I knew I’d find one. When walking by one of the local bike co-ops, I did a double-take when I saw that an old CCM headed for the scrapheap had one from 1963! A few minutes with tools and it was mine (including shifter), and since this bike hadn’t been used much, the hub was in great shape. I built it into a wheel, filled it with oil, and set out to find out how it survived a Montréal winter. So far so good, and it even shifts when it’s -20° overnight. These older oil-bath hubs can put up with a lot, even if they’re a little dirtier than grease-lubed hubs. The basic maintenance is really simple: when you start hearing the clicky ratchets more loudly, add a tablespoon of oil through the oiling port. It eventually seeps out through the right side of the shell but I’ve found it’s more or less indistinguishable from the general chain-oil/road mess dirt you usually get on hubs.


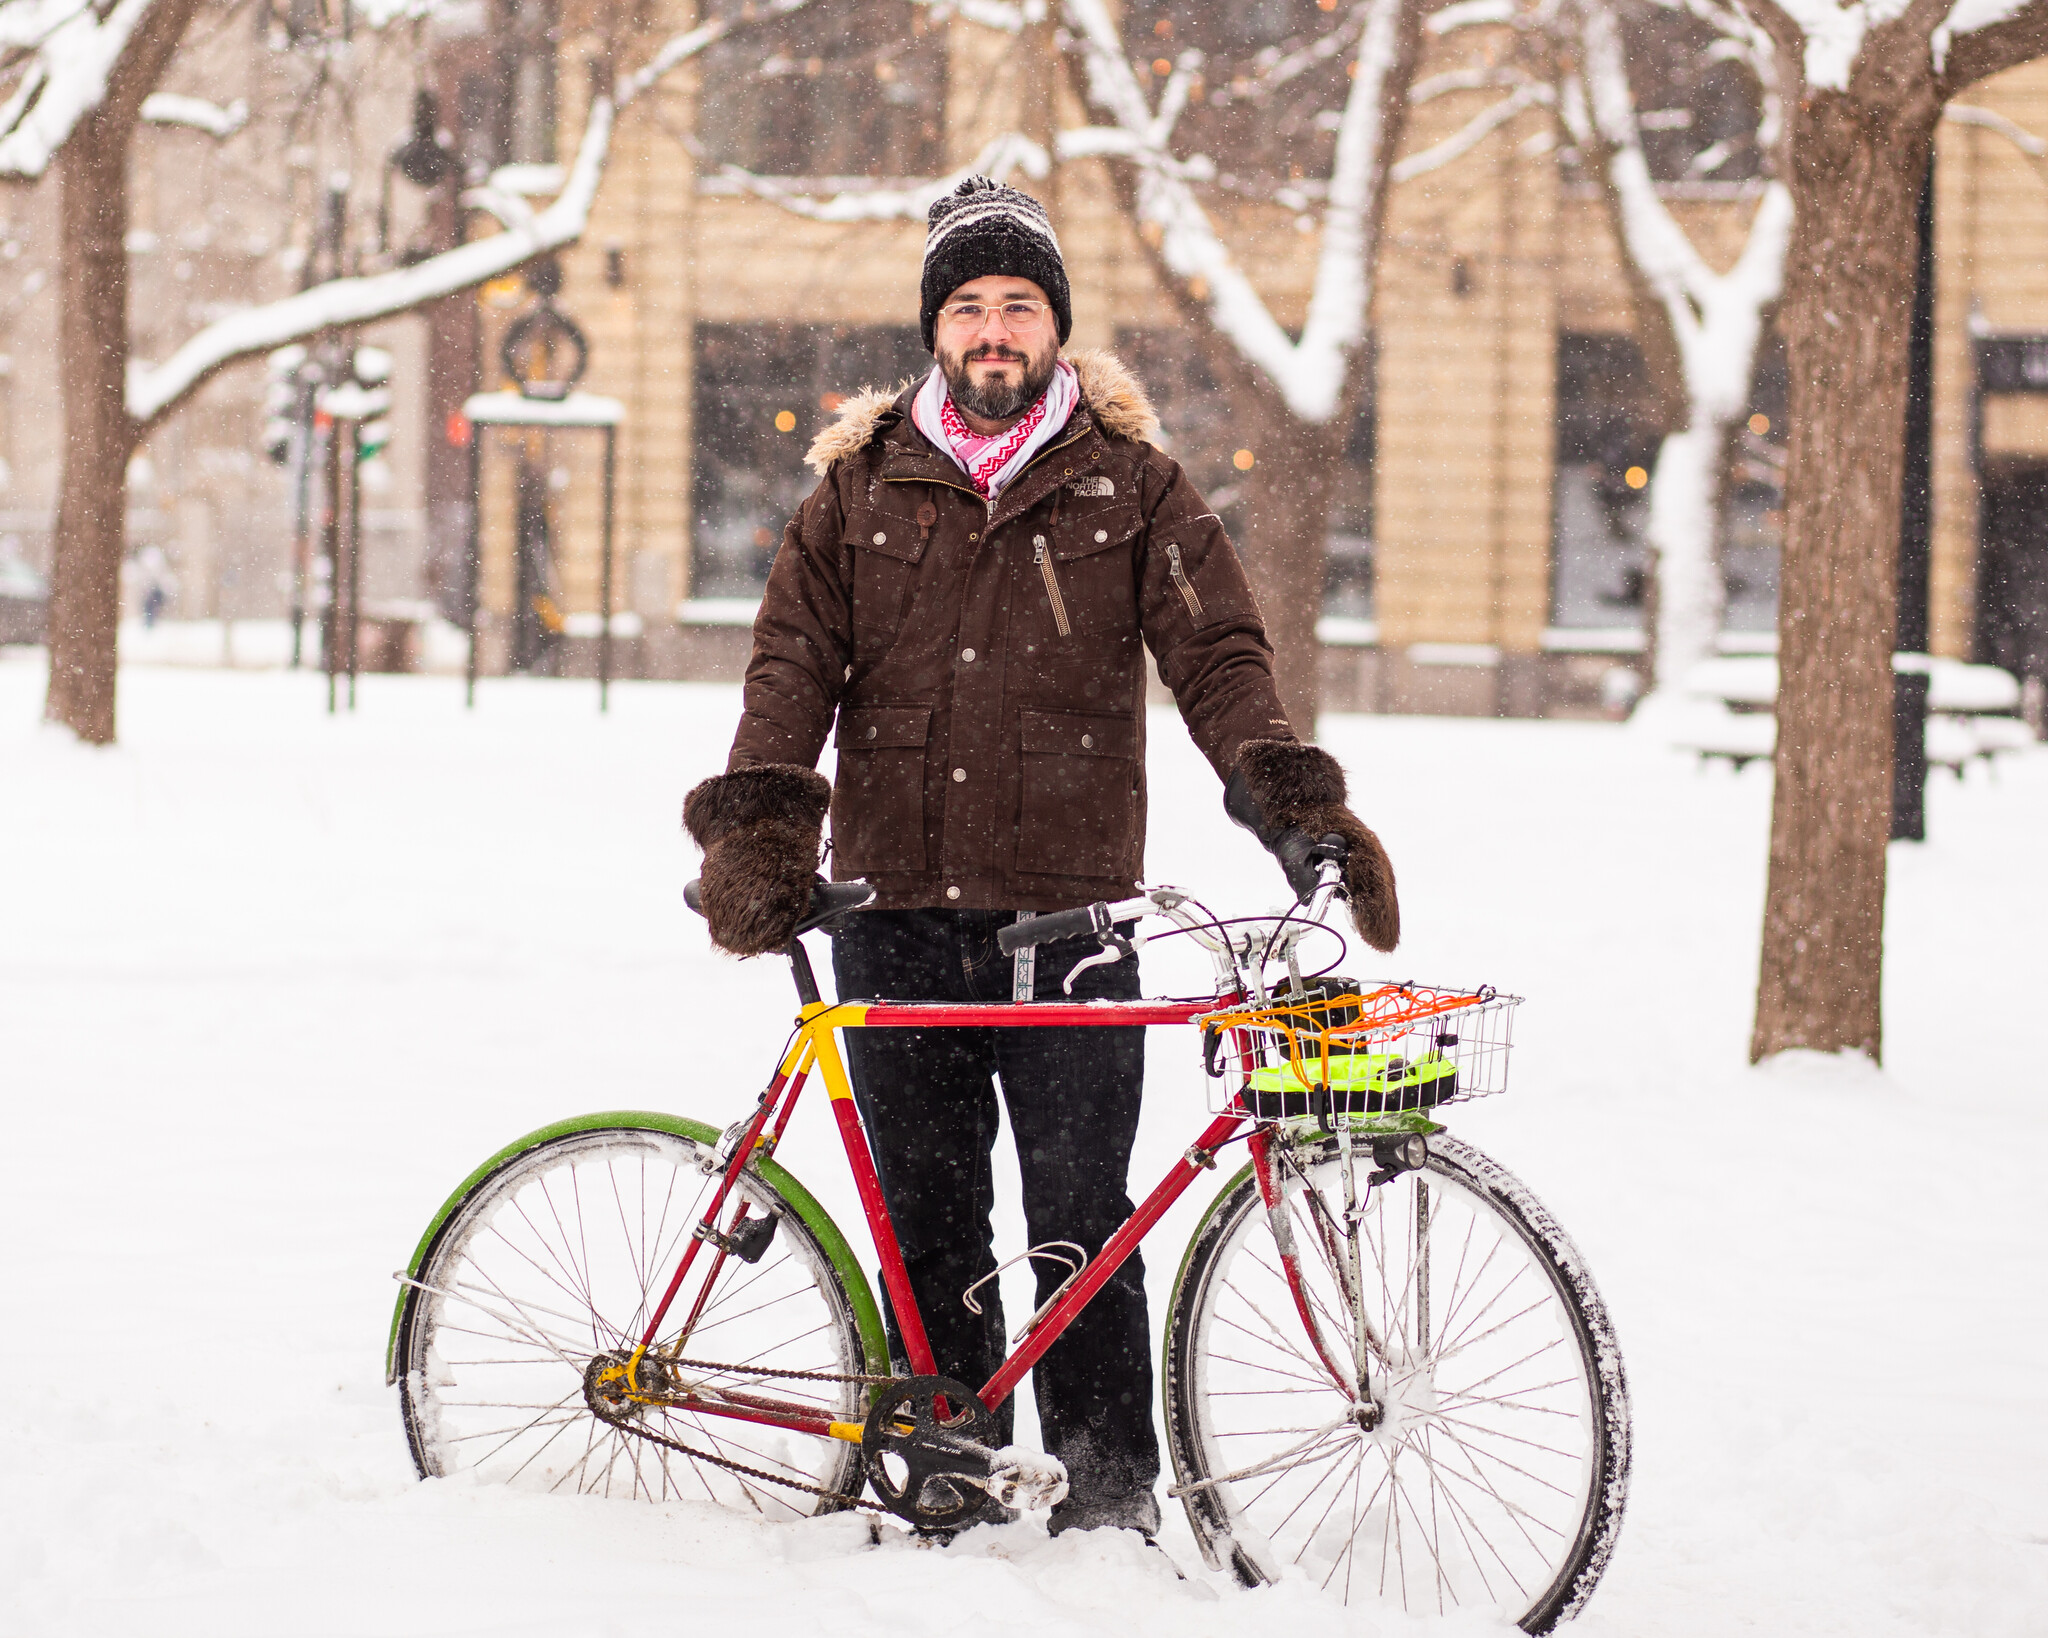
You might notice the brand-new Alfine crankset which doesn’t exactly match the rest of the bike. It happened to be available, with the right tooth count, when my old crank’s arms started dropping off. That’s when you know your crank arms are finished, unfortunately. With its small-ish 42-tooth chainring the gearing on the SA hub is very comfortable! You’re not supposed to go lower than a 2:1 ratio with the cog on these hubs, otherwise you might damage the internals, but right there on the edge is really nice for city riding. You’ve got a middle gear that’s a good cruising speed even on slow slushy days, a climbing gear that’s okay for this city’s hills (if you choose the right ones) and a top gear for false flats and tailwinds.

A short little swept-back handlebar like this one or a North-Road bar is really superb in the city. It’s natural to hold when getting on and off the bike all the time and the position is upright so that you can see around you. Plus, of course, it’s easy to handle with mittens.

The Wald basket is the heavier but more adjustable 1372, which doesn’t need a rack. I’d be able to carry more with a rack-mounted basket, but this suffices for everyday items. The adjustability makes it really, really quick to install.

Keeping the bike cheap but with dynamo lighting was a trickier proposition. I managed to find a bottle dynamo on eBay (new, they still make them but hardly anybody bothers importing them into Canada) which I could mount without rebuilding the front wheel. A hub dynamo is definitely more efficient and useful, but for a quick and dirty retrofit, this thing works. The wiring is dead simple to run, I just wish I had a proper mount instead of P-clamps for the dynamo. The light itself uses the perfect, amazing, never-fails Blue Lug/Nitto mount!


The final major bit is something that was just for fun… Obviously you need fenders in the winter otherwise you get, at best, slush in your boots, and at worst salt on everything and everyone. What if they weren’t just regular metal colour though? We sell really easy to use spray paint made to work on bikes, so I could make my bike look really silly!
These are Velo Orange fenders. They’re known for their excellent and durable aluminium fenders, but they also make some from stainless steel! The idea is to have more durable fenders where the weight doesn’t much matter, like on a city bike, and the stainless versions are 700x45mm or 26”x60mm, the two sweet spots for common city bike conversions (old road bike from the 80s and old MTB from the 90s).


To paint them, it was super fast: a quick scuff sand, then primer, then shortly after the coat of colour paint. The next day when all was dry I used Keirin Flake as the clear coat (it sparkles in the sun!) and it was done! After a couple days’ drying they were ready to install. The clearance is admittedly tight with the 700x30mm studded front tire, but with a little persuasion it worked.

So here we finally are with Rossinante: the perfect anonymous 80s road bike of no particular distinction, morphed through a couple of decades of functional tweaks into what people have confused for a vintage town bike. This Spring it’ll have its regular tires back on, but nothing else will change for this beater that’s easy to lock up around town but fun enough to ride that I always want to take it around the neighbourhood.
You might have an old bike like this one that might be ready for retirement: give it some cheap love and keep going together, you won’t regret it.


As always, thanks our Troy for taking the snowy pictures of me and my ride.
Leave a comment
Recent articles
View all
A recap of our small Toronto visit
The story of the Allotec A32