


A guide to our steel materials
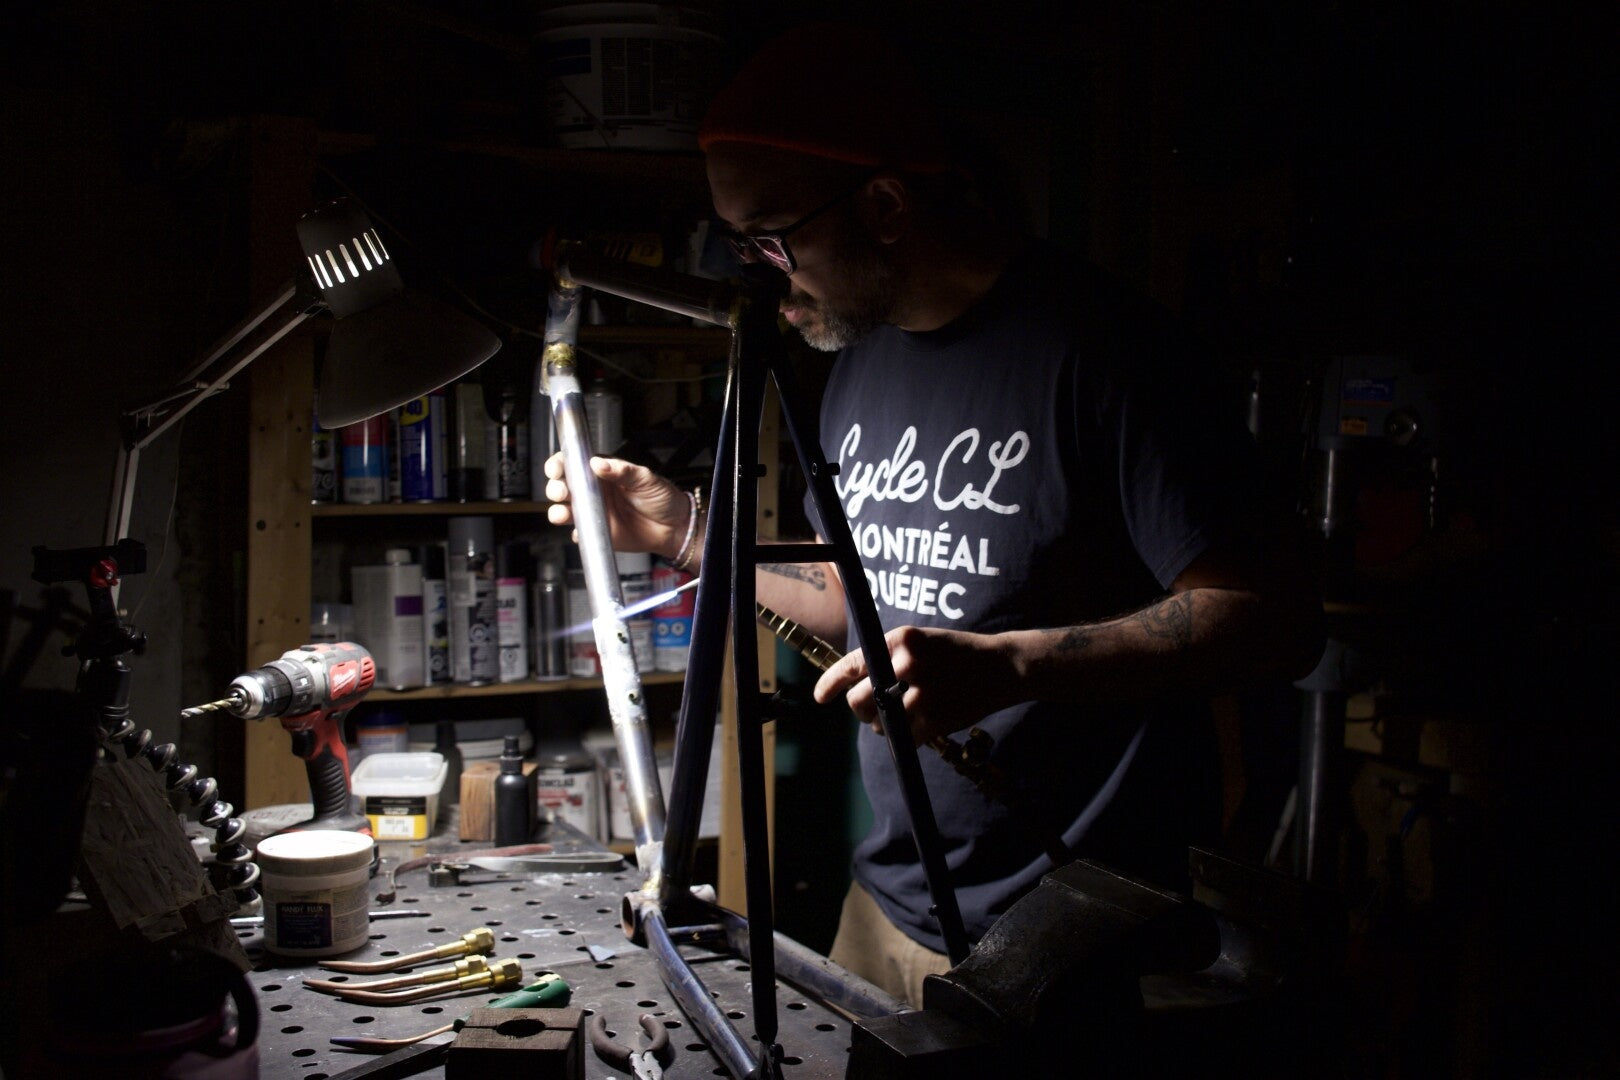
Before Given that one of our long-term interests at C&L is in keeping quality, interesting bicycles in the world, we’ve kept in touch with a lot of people in the frame building and repair world. Whether it’s having the local blacksmith repair an eyelet on one of our personal bikes, or asking the award-winning three-person framebuilding company to make a run of peculiar custom frames, it’s always been interesting working with our friends who know how to make stuff! Eventually we came to the point where we saw that we could bring together two worlds, using our contacts in the steel manufacturing industry in Taiwan, to turn C&L into a convenient and, more importantly, local source for raw steel products for bicycle frames. As it’s become more difficult (it was always more expensive) to work with US-based suppliers, our on-hand steel has been appreciated all over the country and it’s encouraged us to expand what we can offer. After If you’re a professional framebuilder you probably don’t need this breakdown, but it’s good info for everybody, and even if you never intend to weld a single piece of metal to another, it’s still interesting to see what goes into your bike frame! First off are the main tubes, forming the front triangle of the bike. These are the most complex ones to make. We sell tubes made of 4130 CrMo steel, a specific high-strength alloy that’s ideally suited to bicycles, since you can make them quite thin while keeping them strong enough to support a whole person. There are even fancier, recently-developed alloys of steel which you might know by brand names, and these can be useful when building frames intended for more demanding or specific applications. Those are often heat-treated and require special handling or techniques while welding them, to achieve even higher strength. The main tubes are thinner in the middle section, and thicker at their ends where they’ll be joined to other tubes. This is done by forming the tubes on a mandrel and drawing them out with massive forces, which results in the strongest possible tube without a welding seam which might weaken the part. Steel bike tubes are really fancy it turns out! This makes the tube “swaged” or as it’s commonly called “butted”: a double-butted tube has a thicker butt at both ends, and is swaged in the middle. Triple-butted is a bit of a misnomer but it means the two ends are different thicknesses, usually for a seat tube. Traditional road bike frames were made from pretty small tubes, with 25.4mm and 28.6mm tubes being common, the smaller one being the top tube which is less stressed. These days it’s much more common to see 28.6 and 31.8mm tubes, and often 34.9mm tubes, the latter mostly seat tubes for ATBs. A larger diameter tube is more rigid than the equivalent wall-width on a smaller diameter. Our seamless double butted toptubes and downtubes come in 25.4, 28.6, 31.8, and a few 34.9mm outer diameters, in a few lengths which can be cut to the right length. For seat tubes, we’ve got 34.9mm with a 1.6mm butt thickness at one end, and 1.0mm thickness on the rest (stout!) and 28.6mm thickened to 29.8 at the top, with thicknesses of 1.2, 0.6 and 0.9mm - that’s a triple-butted tube (three thicknesses). That 0.6mm minimum thickness on all our tubes is really thin, but it’s not as ultra-flexy super-light as you’ll find on some fancy custom road bikes. Partly that’s ‘cause it’s expensive to make the thinner stuff, and also because for a practical bike which you’ll be using often, thinner tubes are inconvenient: they’re easier to dent. Head tubes. No fancy thin-walled steel here! The head tube is also important but that one’s always quite a thick tube. It’s really short so that doesn’t add much weight to the total frame, and it needs to be thick because it’ll have the other tubes welded to it, as well as holding the headset cups and working with the fork steerer (also now available!). We’ve got 34mm and 44mm headtubes (inner diameters), for threadless headsets. Ironically we’re not yet set up to provide the parts for threaded-fork frames (30mm tubes and threaded fork steerers). Other parts of the front triangle are potentially lugs, fancy-shaped sockets that can hold the tubes together: head lugs, bottom bracket lugs, and seat cluster lugs. Those are for bronze-welding the tubes into, a very traditional way of building a frame. These are the first parts we’re seeing in this overview which are cast: wax is formed into the shape of the part, then a sand mold is made around the wax. The wax gets burnt off (“lost wax”) and then molten steel is poured into the now-empty mold. The result is extremely precisely-shaped, complex parts with a very good finish, requiring relatively little filing or polishing. Our lugs, as well as other complex parts like dropouts and fork crowns, are made by one of the world’s top lost-wax casting factories. You’ve definitely seen their castings on many, many bicycles. Speaking of dropouts, the rear ones are joined to the front triangle by the rear triangle! That’s the seat stays and chain stays, going from the rear hub to the seat-tube/top-tube joint and to the bottom bracket, respectively. Often those tubes aren’t as complex an internal profile as the main tubes, though they can be. A more straightforward, though still drawn seamless, straight-profile tube is often used. The same is true of the fork blades, where a straight-profile tube can be ovalized and gently curved to form the fork blades. They’ll join the steerer tube using a fork crown (another fancy complicated casting) and have cast dropouts at the other end for the front wheel. Often, however, blades for a rim-brake fork meant to be lightweight will taper from a larger top to a much smaller end. Steel tubes joined with molten bronze - this example is a bronze fillet rather than a lug If you’ve joined all these parts together (using bronze or silver brazing filler, or TIG-welding them) you now have a bare frame and fork. Most of the time that frame will need to have more bits welded to it: disc or cantilever brake mounts, bridges, cable guides, rack or fender eyelets, water bottle eyelets with optional reinforcements, kickstand plates, a front derailer braze-on, or even a casting made for splitting the frame to accommodate a belt drive. After all that frame steel, we’re not even done… some of it is for making custom parts and accessories. The 25.4mm and 22.2mm tubing can make handlebars with a bit of bending, and the 10mm tubing is for building custom racks. What a lovely walk around a bike frame that’s been! Given how many ways of building a bicycle we’ve seen, I’m sure we’ll never have everything someone could need for every frame, but we’re constantly growing the breadth of what we offer framebuilders from one year to the next, because we love seeing people build and repair and modify their beautiful machines.
Nitto Racks, Explained
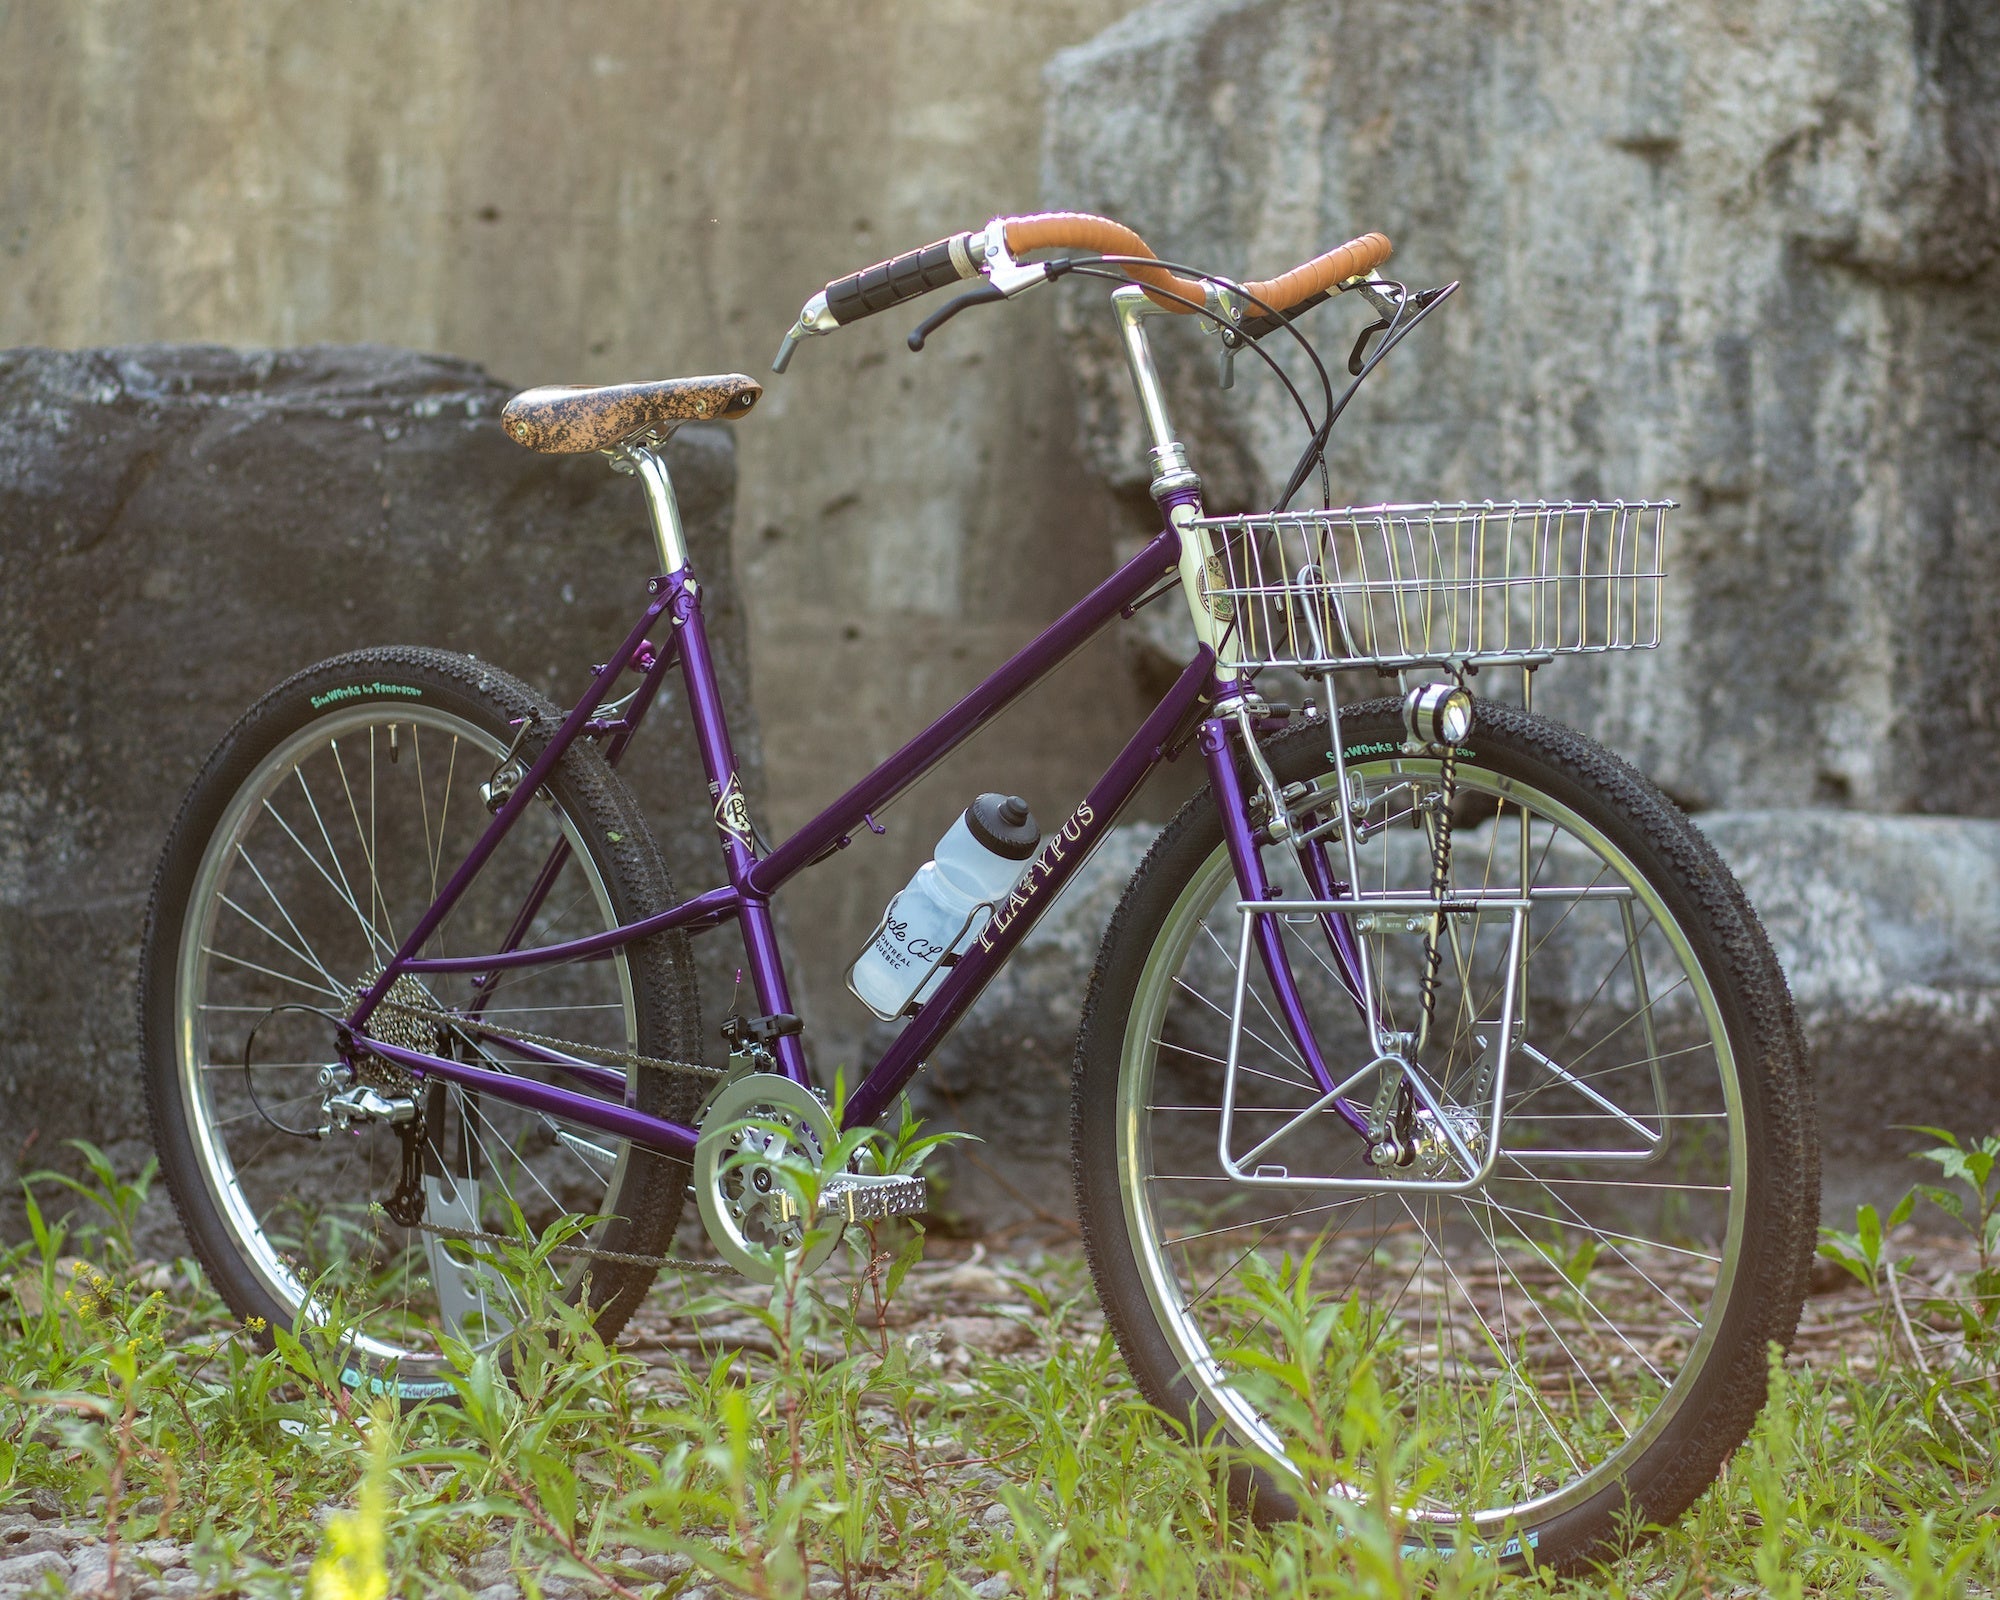
Who’s Nitto? Simply put, they’re one of the last remaining great components manufacturers of Japan’s bicycle boom in the 20th century. Their specialization is, by choice, narrow: excellent stems, seatposts, and handlebars. All those are components they know they can make to higher standards than anyone else in the world. As almost a sideline, they make the very finest modern versions of traditional French racks, welded from tiny tubular steel and nickel-plated. Like all their components, the design is done carefully and manages to find beauty in subtle differences of curve and angle, while their quality control tests exceed internationally-recognized standards. Header image: Rivendell Platypus with Campée 650F, including basket tied to the platform A Rivendell Joe Appaloosa with Campée 650R, pannier wings removed To get an overview of Nitto’s racks, we can split them into two categories: Tourist racks and Randonneur racks. Most of these serve great for other uses like city riding and bikepacking, but they're designed a certain way, so that lens is useful for us. The Tourist Racks are large. They’re designed to carry enough gear to go bicycle camping relatively comfortably, and to be pleasant to cycle with all day long for weeks at a time. For stability, they bolt to secure spots pre-welded to the frame, which means they have a bit more hardware which adds weight, though this is mitigated by the lightweight tubular construction of the racks themselves. Many cyclotourists in the C&L crew can testify first hand, these racks are worth the high asking price: they stay beautiful and solid for a shocking number of years and kilometers of riding and touring. International touring icon Kellyann Marie, captured on Ektar film with pink Soma Saga and Nitto Campée 650F Our friend and ex-colleague Kellyann, above, has been riding their Campée Front since 2020: Newfoundland (and some Labrador), Iceland, Europe twice, Florida thrice, Eastern Divide from Florida to Montreal, and many more smaller adventures. Their one regret, in their words, is not getting the rear to match when it was in stock at C&L. I’ve seen their bike recently and I’m astonished that the rack looks almost like new after so much use (and so many flights!). There are basically three Tourist racks, and a couple of size variations. Campée is the flagship model. It’s the full package, attaching to dropout eyelets and to somewhere on the fork blades or seatstays: cantilever bosses, threaded eyelets, P-clamps, what have you. They can also help support fenders, and you can do bags on top and on the sides: the wide side-wings help stabilize full pannier bags, and are easily removable to save space and weight if you’re not going full-tourist that day. Many also use them with a basket strapped to the top, as you can see in our bike photos. Nitto Campée Front It comes in front and rear versions (designated F or R in the product name) which is pretty self-explanatory. A lot of us like the front, since a slightly heavier front than rear load tends to handle better on bad roads (why isn’t front-loaded touring the default? It’s a bit less aerodynamic. Up to you if you care). Nitto Campée Rear There are two Campée sizes: 27 and 650. The 27 fits bigger-wheeled bikes, be they 27-inch, 700C, 27.5”, etc. They might not work with super duper maxed-out 29ers, mind you. The smaller 650 is made for 26-inch and 650B wheeled frames, and probably fits if you have skinny 700C wheels. If in doubt, measure from the specs on the product page! MT-R20 Rear Rack MT-R20 Campée is a bigger-platformed, simplified rear rack, designed for smaller 26-inch and 650B wheeled-bikes, though there’s clearance for non-super-huge 700 wheels too. The simplicity lowers its price, and it’s just as well-designed and finished as the fancier models. The Randonneur racks are teeny-tiny, and quite light! Randonneuring is a sport where cyclists ride far and quickly, not in a group, and where the point is to finish, not to win. Therefore riders tend to want to carry a little bit of gear, like repair tools, light jackets, and food, but without adding too much weight or interfering with handling. Reliability is important since a broken rack or bag can cause a rider to not finish an event they’re trained for, and the rides are so long that they inevitably have long sections far from help. Therefore, Rando racks are bag-support racks. The bag would generally also be attached to the bike, though it’s not mandatory. It’s a belt-and-suspenders thing, but also helps distribute the weight a bit more comfortably. They’re also used for city bikes, where a little bit of extra cargo capacity is always useful. The Rando racks aren’t meant to be really weighed down with a full load of groceries, but can help carry your everyday bag. The racks are pretty popular and they take Nitto a really long time to make because of the fine, precise welds, so they can be out of stock for many months (this isn’t a C&L thing, all Nitto distributors have this!). It’s a good idea to plan ahead for your bike build. The M18 Rando is the traditional model that’s adaptable to most bikes that have mounting eyelets. It attaches to the fork blades and to the fork crown. The cargo capacity is 5kg (11lbs, that’s a large sack of all-purpose flour from the grocery store) so it’s not meant as the primary cargo rack, more of a bag support or lightweight basket-rack. The M1 Mark’s Rack is like the M18 and has the same weight capacity, but was co-designed with Rivendell to be a little more adaptable to different bikes. The double stay setup lets you attach it to more forks, and would in principle make it a bit sturdier, though the point is the mounting flexibility. You can mount it front or rear. The R14 is also a bag rack, but for the rear. For example, it greatly enhances the stability and capacity of something like a Carradice Camper bag, which can sway a lot if it’s weighed down and doesn’t have extra support. Since it’s larger and the stays triangulate it better, the capacity is almost double the M1 and M18, at 9kg (20lbs), and the weight of a rear bag would normally be supported by the saddle and seatpost, not just by the R14. This rack can sometimes be installed on the front, but it’s not made for it so it’s up to you to see if your specific bike works for this. Rivendells often do and so does the Hog’s Back. Other rando racks from Nitto exist and we occasionally have them, like the 32F. That one is the lightest one but is super-specialized, since the mounting stays aren’t adjustable. It fits the Bassi Belmont super easily but if your bike’s fork design is much different, you’re out of luck. Do you want to use these racks with a basket? No worries for the Campée models, have fun and express yourself, but be more careful with the bag-support Rando racks. It's super doable but it's easier to overload the rack if you're filling up a basket than a small bag. Stick to the smaller Wald 137 (or even the half basket) and be aware that other, stouter racks might be better suited to heavy basketfuls. All the mounting struts for Nitto racks are interchangeable! Their diameter is 7mm, and we try to stock a few lengths since depending on the exact project, the stock ones might not be perfect. They’re not hollow, but rather are aluminium rod, so they can be bent a little bit and cut to size where needed. Since they’re all the same diameter, there are also accessories available for the stays, like light mounting brackets. The hardware included with Nitto racks is also top-shelf stuff, they don’t like to take a chance that anything could vibrate loose. That said, always check the bolts’ tightness before a ride, especially if you load your racks with close to their maximum capacity. A safety strap leading from the rack to your handlebars is recommended for front racks, since they can be extra dangerous if they fall into your wheel. Most of the racks come with P-clamps in case your frame doesn’t have welded, threaded mounting points. Like all the included Nitto hardware, they’re very high quality, but if you’re using them please keep an eye on them especially if you’re near the load limit for the rack, they’re less stable than proper eyelets. As always, let us know if you have questions about our racks! Your local bike shop can get Nitto in Canada exclusively through C&L Cycles distribution.
How to cycle through the winter
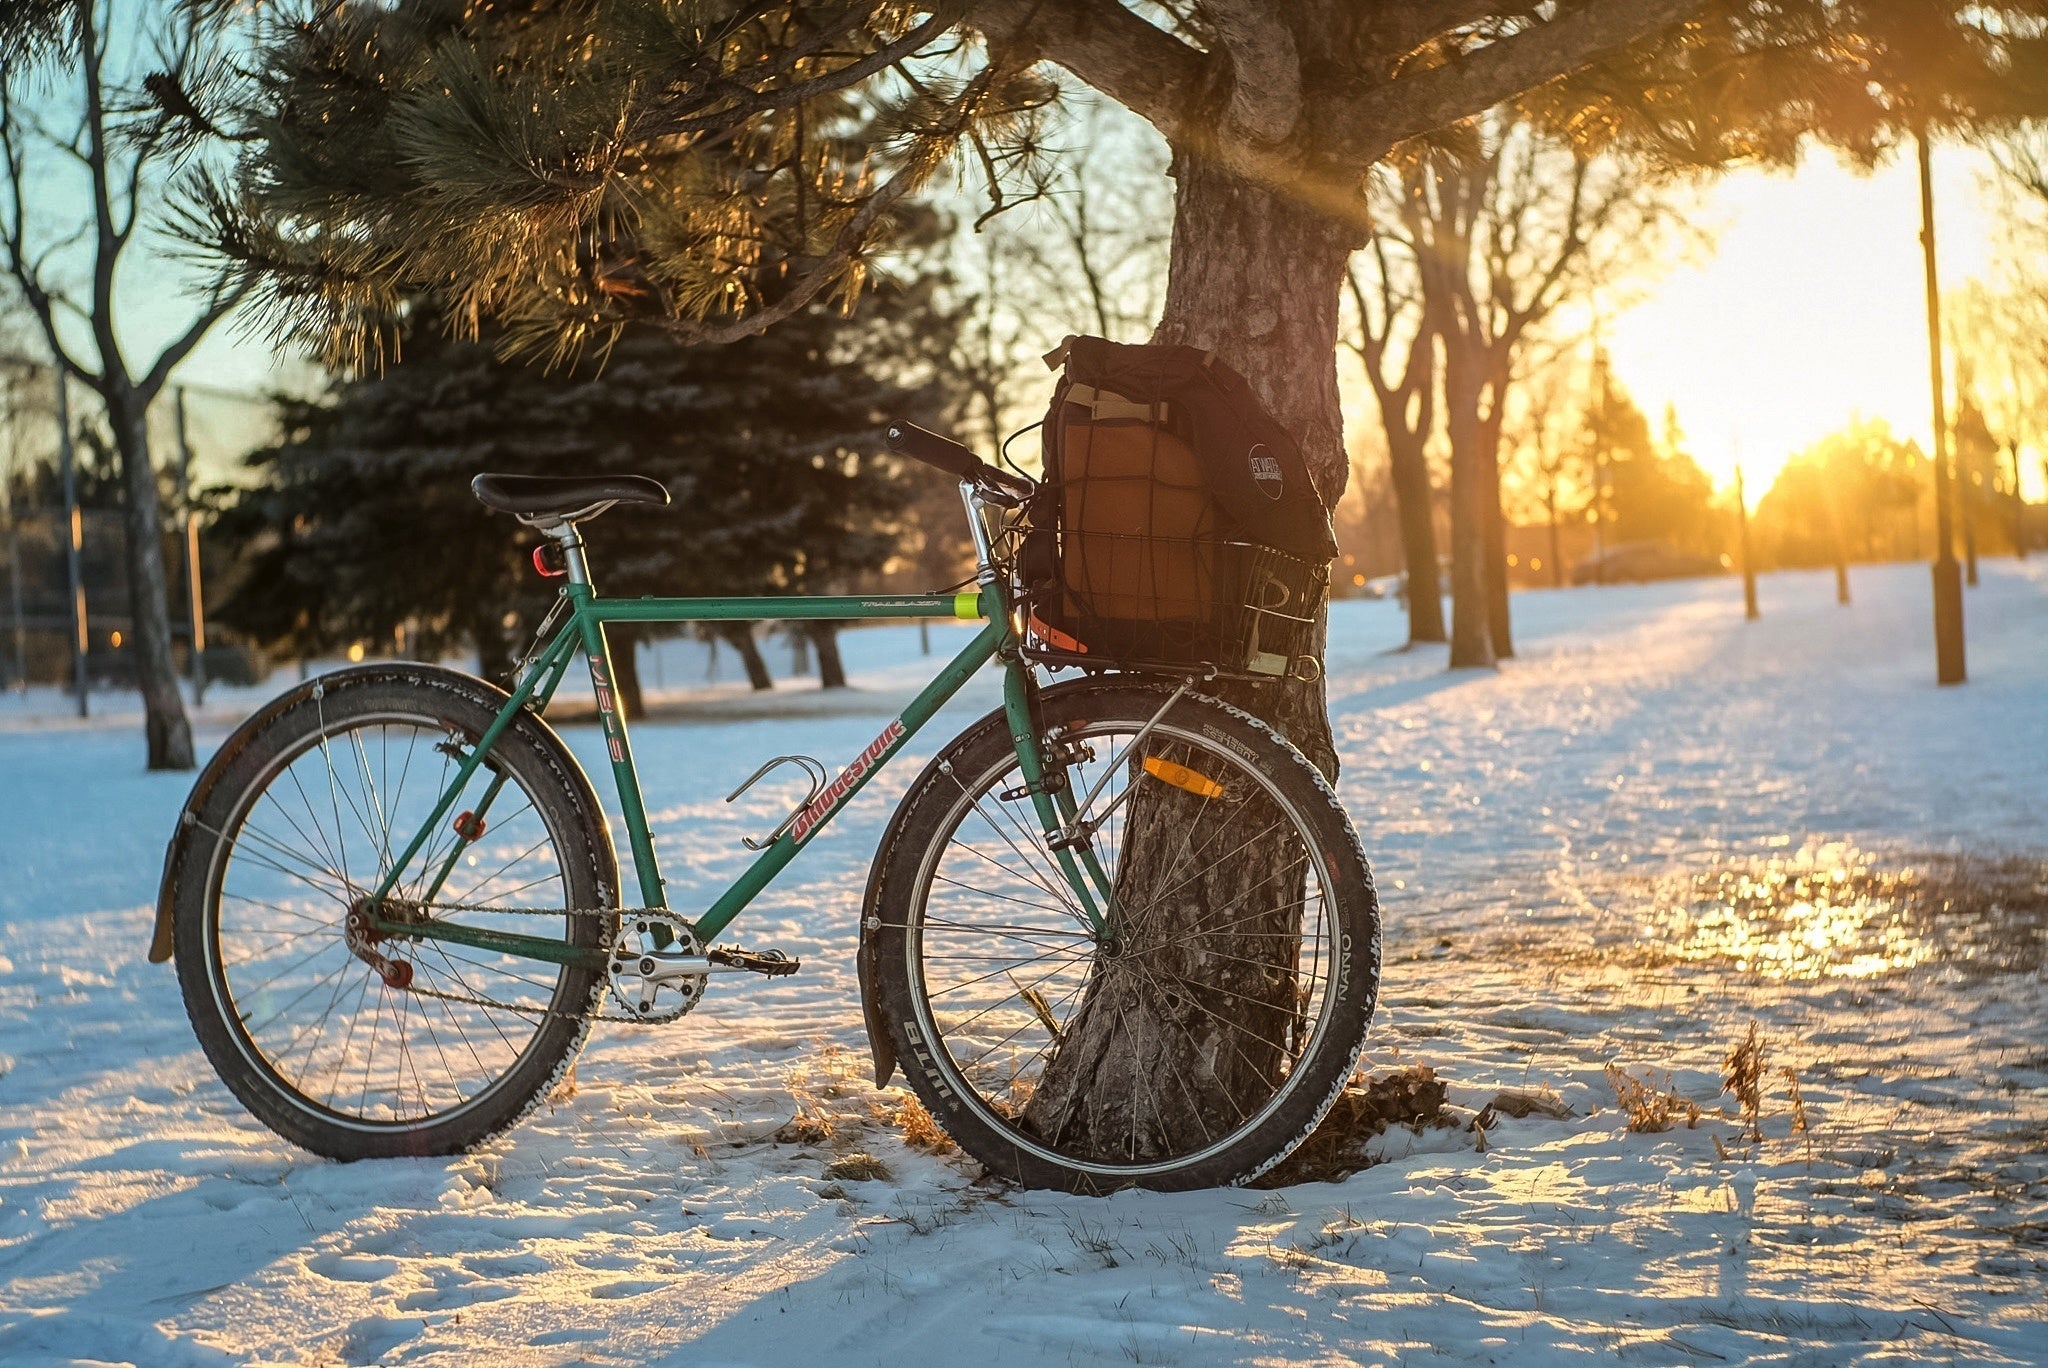
Winters get a bad reputation in Montreal. It's a pain to drive and park (I'm told) and walking sucks with ice and slush a constant hazard. However, cycling remains surprisingly easy, and is a real morale booster! It's a little bit more physically demanding than the rest of the year, but that little bit of physical activity is good for you. Winter cycling also makes more of the city easily accessible when it wouldn't be otherwise. There are three main things to get a handle on to make winter cycling easier: Adapting your bike to the elements Dressing properly Choosing a route Adapting your bike First off, if you don't have full fenders yet, get some! Salty slush flying everywhere is bad for the bike and bad for your clothes, and your tires throwing snow straight down your boots is a real bummer, too. Then you need to think about winter tires. I've ridden with very wide and soft tires some years, and studded tires other years. You can get away with wide-and-soft, it's fun on fresh snow, but it can get sketchy in the turns and on ice, which is not the case with studded tires. Get studded tires, I'm putting mine on this year. Then, there's the parts on the bike. You'll need to grease anything that might be in contact with road crud, or it'll jam up: derailer pivots, bolts, even your headset and bottom bracket bearings. You probably shouldn't grease cables, but be prepared for them to jam up sometimes if you leave your bike outside. Condensation makes fools of us all. It's not a huge deal to change the cables at the end of the season, or even mid-season if you ride lots. You already have lights, yeah? Get in touch if you want a dynamo-powered system, but modern lithium-cell lights are great, you'll just need to recharge them more often than in summer (more hours of darkness, plus the cold sucks the life out of the batteries). Dressing properly Or, adapting your body. A fun thing about cycling is that you're exerting yourself more than if you were walking to your destination, so you'll be warmer! You don't need to dress as warmly as you might be used to. It helps to think not of how cold you'll be in the first five minutes of your ride, when you're still getting warmed up, but for the rest of it, when you're generating lots of heat. Layers help a lot, since you can adjust a little bit when you really get going. My big down jacket only comes out around -15°C (not counting wind chill), which is only a few days in Montreal most years. The rest of the time it's wool, hoodie and warm jacket. Long johns are extra-deluxe, and the very best are Stanfield's, made of wool in Nova-Scotia. We don't sell them but they're easy to get. On the other hand, your feet, face and hands are pretty exposed to the wind. A scarf or balaclava, big mittens (no fingers!) or pogies (Bar-Mitts), and good insulated winter boots or snowmobile boots (with Darn Tough invincible merino socks) are fabulous. You can save the clippy shoes for the spring riding season. And if it's below -20°C and there's a bad wind chill, feel free to skip the ride! Work from home, bundle up and walk, or take the metro. I'll be the first to admit it's pretty miserable to risk frostbite. It really sucks the fun out of the ride. Choosing your route This might be where you have to get creative. Unless you're lucky, your usual summer route might not even be possible, let alone safe. That said, more and more of the city's bike paths are permanently cleared in the winter, often being ploughed and salted before the main street they share! I know that's the case for the Rachel St. bike path right in front of the bike shop. The off-street paths are unfortunately out, but smaller residential streets can be pretty great if the snow is fresh or they've been cleared. Watch out for compacted snow and black ice, though, and give car doors a wide berth. This year will be the first winter for the new Réseau Express Vélo (REV), with Bellechasse as a new east-west axis and Saint-Denis looking fabulous for north-south through almost the whole city. The city has committed to keeping them cleared all winter, but in my experience things are a bit slow when there's a real big snow storm. There are a few bike paths here and there that might be useful to you, explore your neighbourhood! Readers in Pointe-Saint-Charles and Verdun, I'm sorry. You're on your own, I've never found a good winter route. Main photo by the iceman, Jonathan Chhun
The solution to all your shifting problems
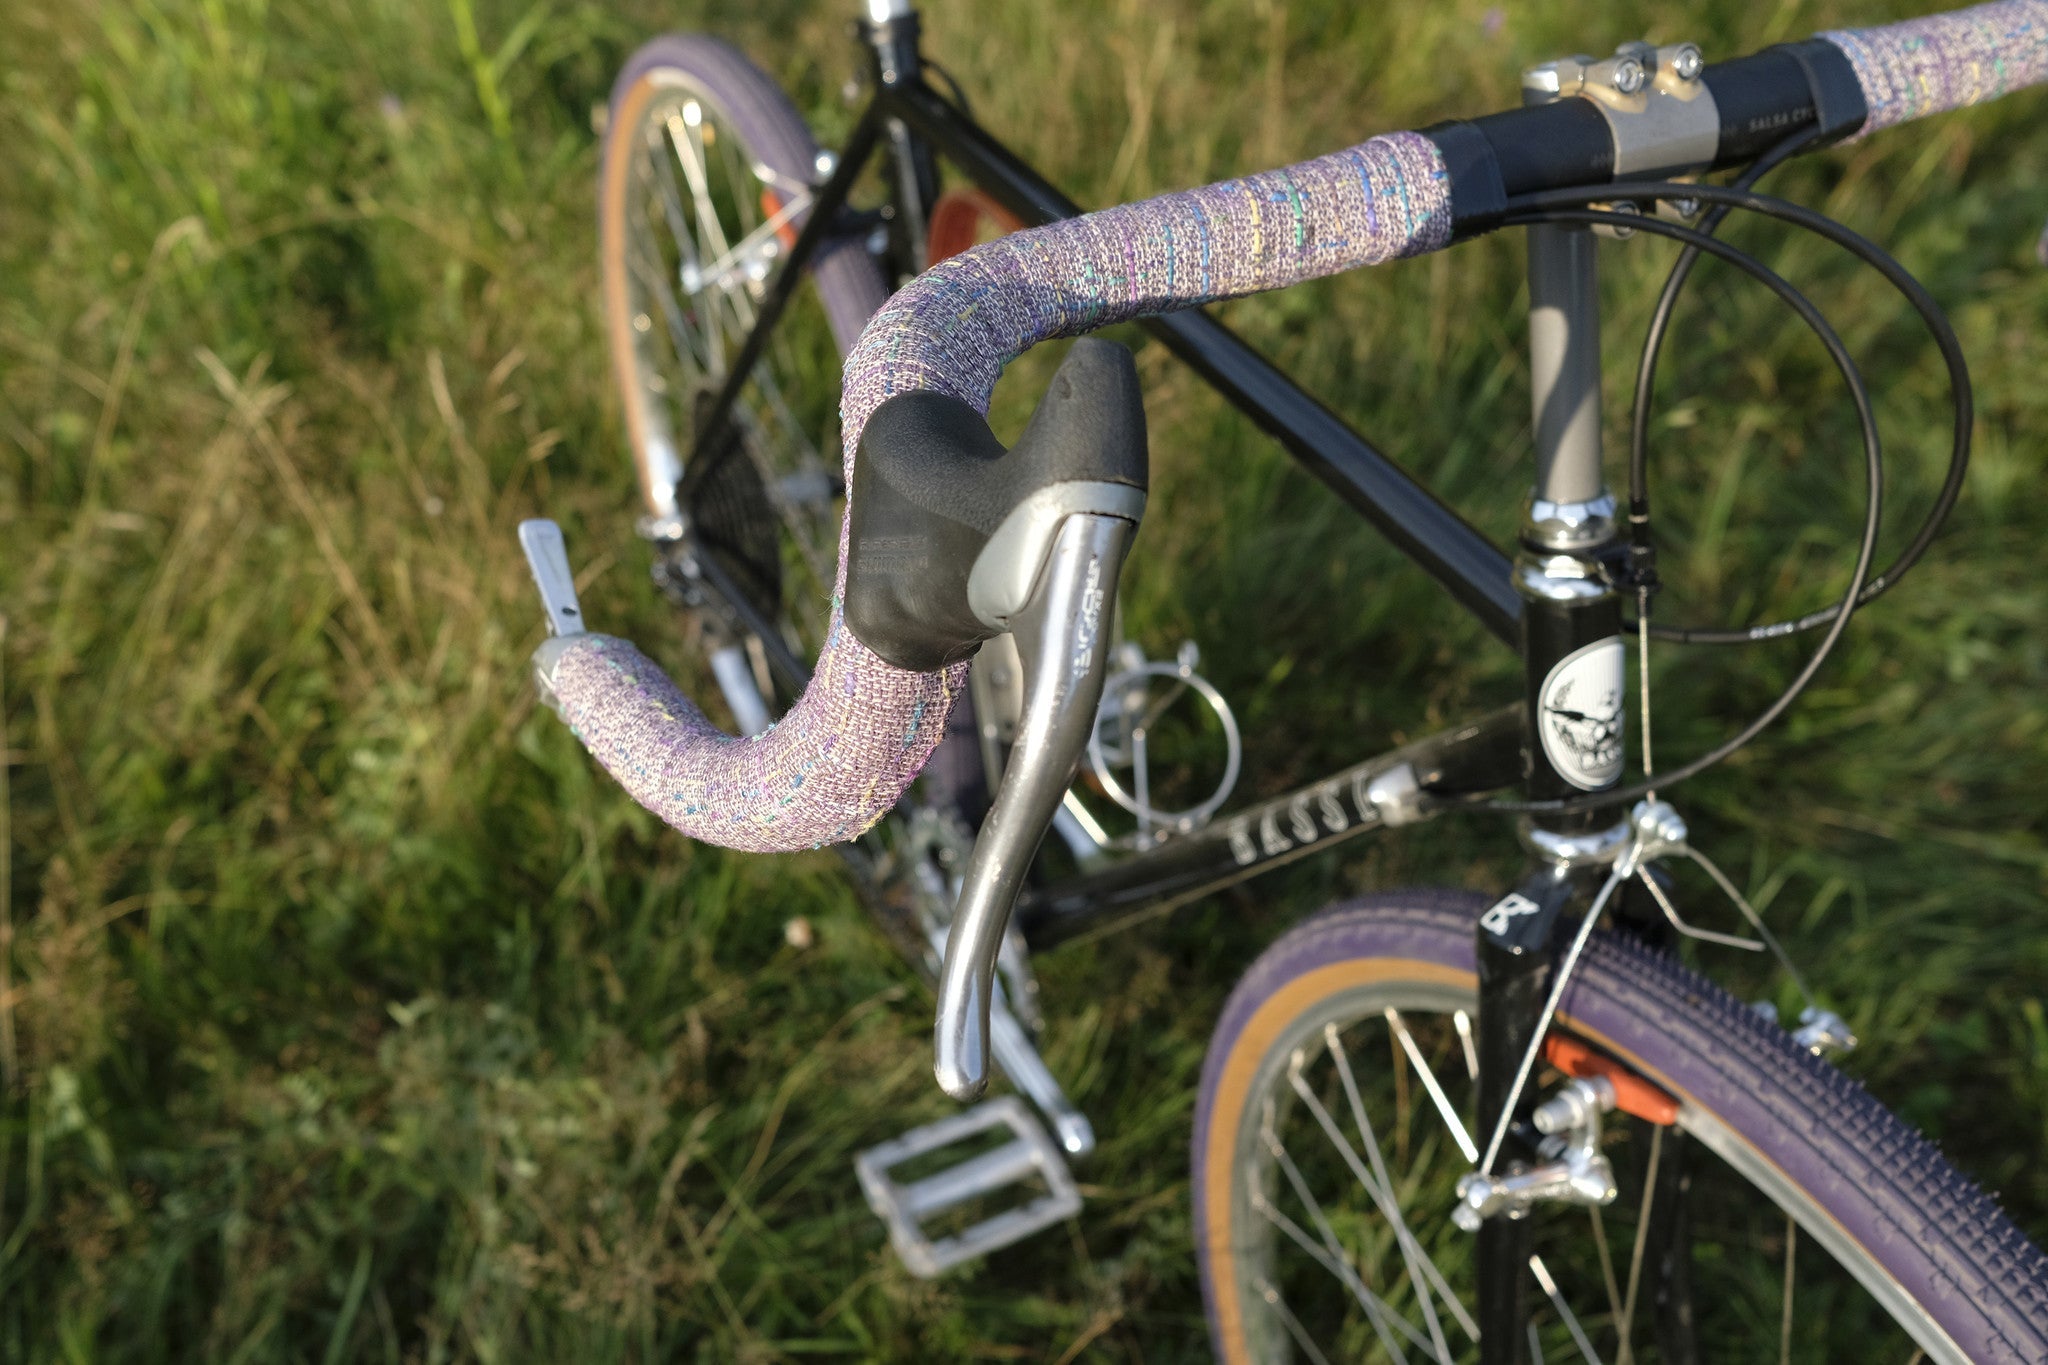
At C&L, we really enjoy time-tested solutions to the conditions you encounter when riding in the real world. As a colleague recently told me, "you only believe in bikes the Wright Brothers would have been able to fix". That's an exaggeration, but in that teasing, JD proved a point that bikes haven't really changed that much in the last few generations. New parts come along and we're promised revolutionary new tech, but the concepts are no different than those of a hundred years ago and many bikes today would be perfectly recognizable to mechanics long-past. If you come by C&L and you start talking to Sam about your troubles with shifters (be they unreliable, uncomfortable or just mysterious), he'll probably steer you in a surprising direction for a solution: friction shifting. It's an always-reliable fallback option to fix a problem, but many people who shift that way find they get used to it very quickly and even come to prefer it, and any bike mechanic from the last eighty years would recognize it immediately: it's proven. What's friction shifting? If you walk into a bike shop (ours, too) today, all the bicycles you'll be able to test-ride will have "indexed" shifters. Your derailer, which moves the chain to different gears, just goes along with whatever the shift lever tells it via the shift cable. By moving the lever, you pull on the cable or release it so that the derailer's spring moves it back on its own. The shifter is "indexed" with a mechanism which catches the cable and keeps it in place when it's traveled far enough to move the derailer over by one cog. What this means for you is that you move the lever over by one position (and it goes "click") and the chain moves over by one cog. That's indexed shifting: simple for the user but mechanically opaque, and if something goes slightly wrong, the shifting doesn't work right until it's fixed. The way shifters worked for many decades was different: you moved the lever until you decided you were in the right gear. No clicks, no notches to hold the cable in the right place, just the friction from the lever being squeezed onto its mount by a screw. What does that have to do with modern components? Well, friction shifters have improved over the years, first with French company Simplex, then Suntour (RIP) in Japan, and more recently in a collaboration between Dia-Compe and Rivendell in Taiwan and the USA. Modern friction shifters have a light touch, are reliable in keeping their position, and last forever with only inexpensive replacement washers to change every decade or so. These shifters have also kept abreast of modern 11-speed drivetrains, which need to move the derailer further than ever before, with an elegantly simple solution: you just get a shifter with a bigger barrel so that the cable moves further when you move the lever. A friction shifter is compatible with any derailer, any cassette, any chain. Mix and match if you want, move from 10-speed to 8-speed from one day to the next. Put the shifters down on the frame like racers did until 1990, put them on the stem like on your old Peugeot, put them at the ends of your handlebars like cyclotourists have done for ages, put them on your flat handlebars like a classic MTB, put them wherever you please. The freedom to use any part and mix-and-match drivetrains is exhilarating! We'll be receiving a delivery from Dia-Compe soon which will include several models of their superb friction shifter (none better has yet been invented) for downtube, bar-ends and a special downtube 11-speed model. We're also getting some beautiful classic brake levers, 'cause why not look classy if you're going to look classic. In addition, we'll be building our upcoming Bassi Montréal V3 as a traditional randonnée/sport-tourer and will be using bar-end shifters from Microshift, and while we don't insist anyone has to use friction shifters, we do like to give people the option, so we're sourcing a convertible index/friction model for next summer. And by the way, all our steel Bassi frames have standard downtube shifter mounts. Try them out, we're sure you'll like them.